
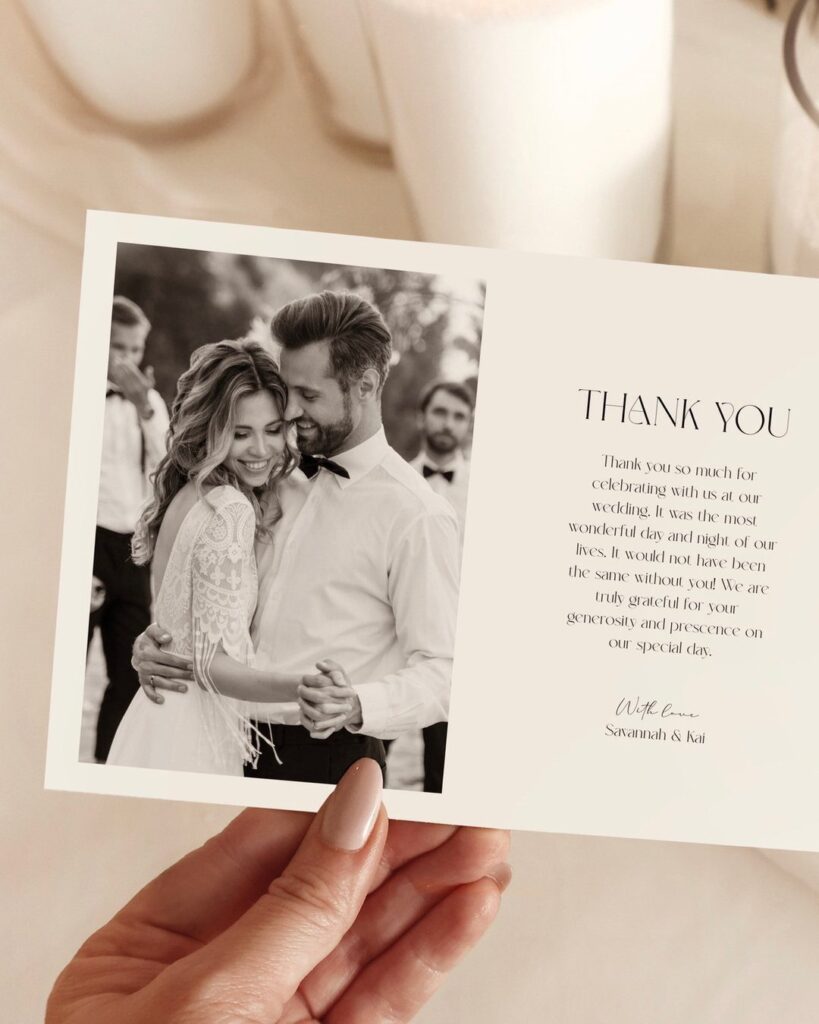
A wedding photo on the front turns the thank you card into a small keepsake, while an embossed minimalist card feels quietly formal in a way colored ink doesn’t.
The format that fits depends on how soon you can send them and what your wedding aesthetic was: real foil and wax seals suit formal celebrations, botanical line art works for garden weddings, and photo cards let you share a moment guests might not have seen.
1. Personalized Notes Card Template
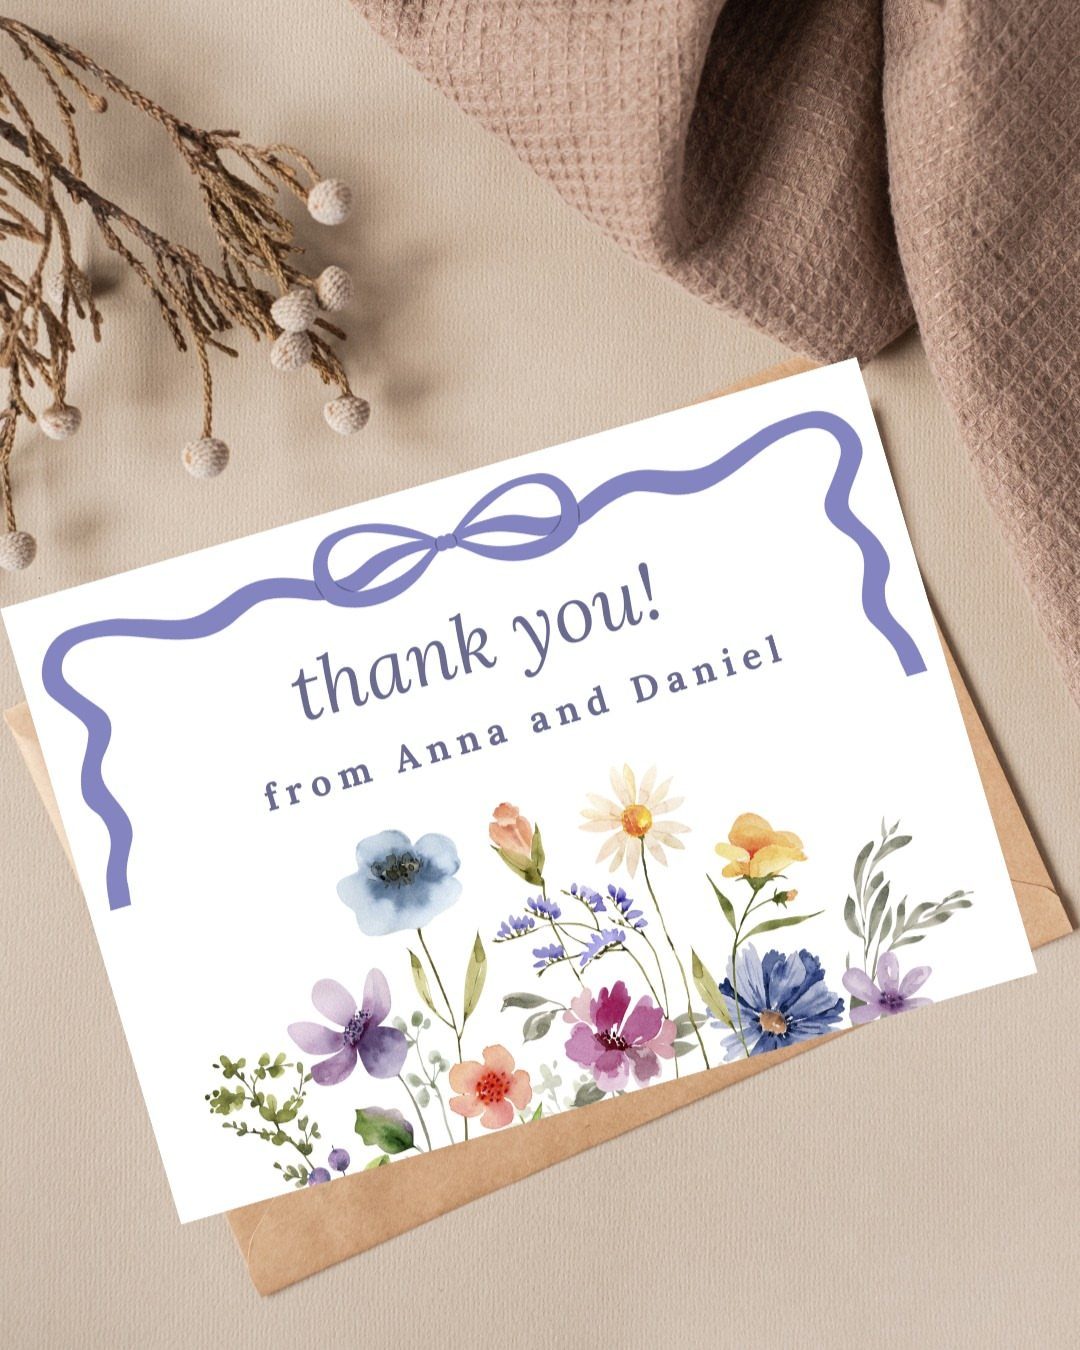
Adding your names to a simple thank you card template makes it feel personal without starting from scratch. The floral illustration and ribbon border here keep it soft and classic, while the hand-lettered names give it a finished, intentional look.
If you’re sending cards to dozens of guests, a template saves time.
Print the base design, then sign each one by hand so it still feels like it came from you. That balance between efficiency and warmth is what makes this approach work.
2. Sign the Card from Both Parties
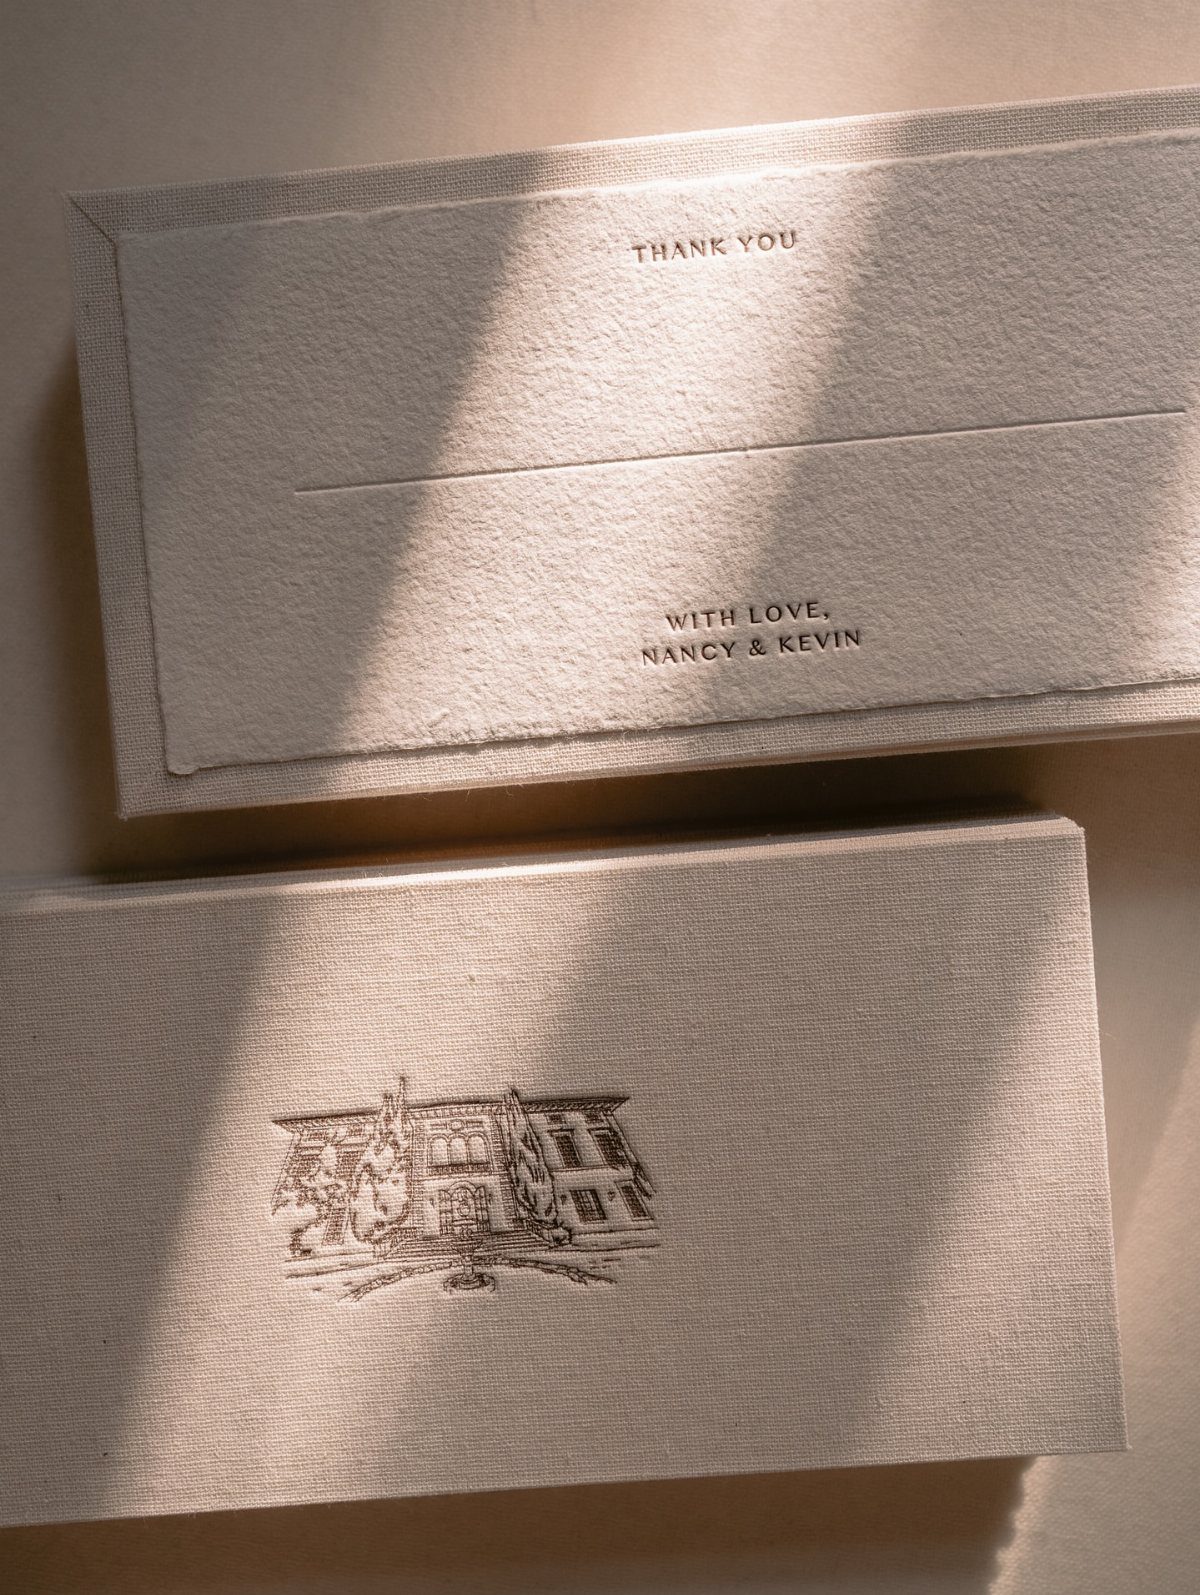
Both names belong on the card.
Wedding thank you notes should come from the couple, not just the person holding the pen. Signing "Nancy & Kevin" or "With love, Nancy and Kevin" shows you’re both grateful for the gift or the guest’s presence.
The textured card stock here adds a tactile quality that feels considered without needing extra decoration.
If you’re working through a long guest list, a simple layout like this keeps the focus on the message and makes it easier to finish.
3. Real Foil Card
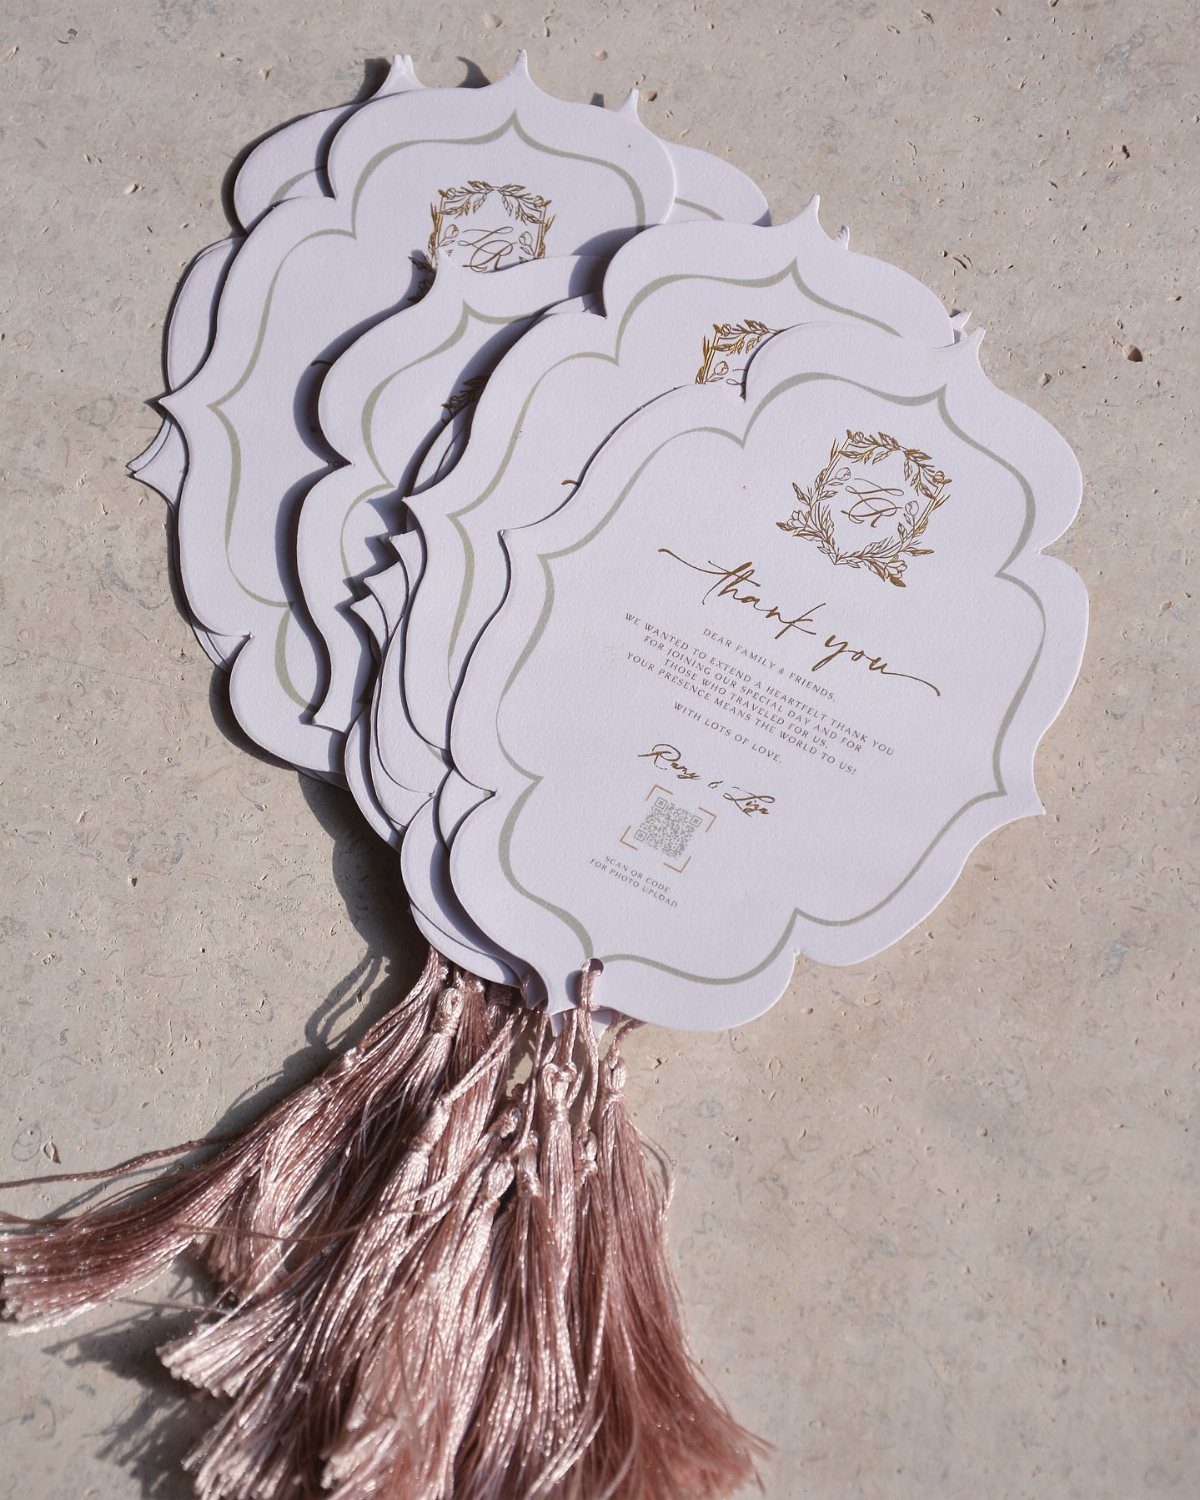
Real foil stamping catches light in a way printed gold ink never will.
The scalloped edge and rose-gold tassel here add softness to a formal finish, and the contrast between the white card and metallic foil reads as polished without feeling stiff.
Foil cards cost more than digitally printed ones, but the difference is visible the moment someone picks it up.
If your wedding leaned formal or you want the thank you card to match invitations that used foil, this is worth the extra spend.
4. Photo Thank You Card Template
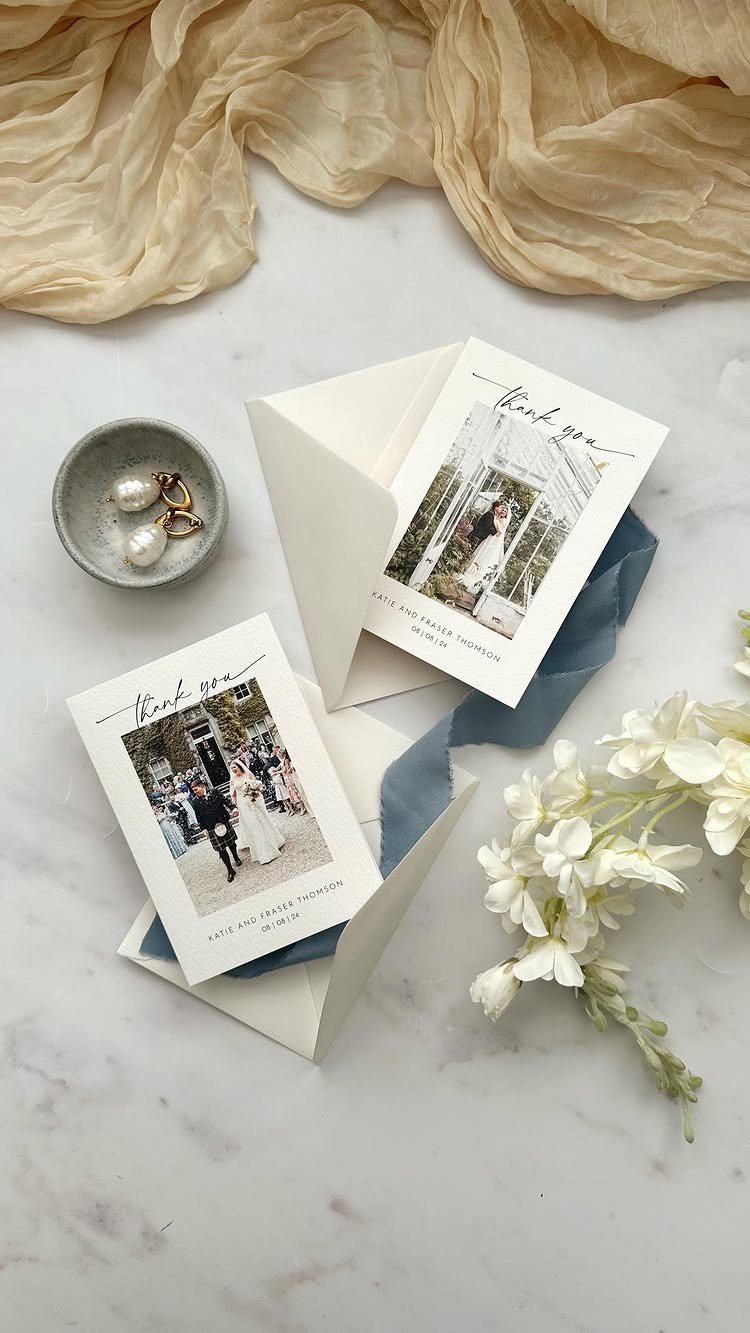
A wedding photo on the front turns the thank you card into a small keepsake. The couple’s names and date anchor the design, and the photo itself reminds the guest of the day they celebrated with you.
Choose a photo that shows both of you clearly and fits the card’s layout.
A vertical portrait works better than a wide ceremony shot, and natural expressions usually read warmer than posed ones. If you’re ordering these, plan for turnaround time after you receive your wedding photos back.
5. Gold Floral Place Setting Card
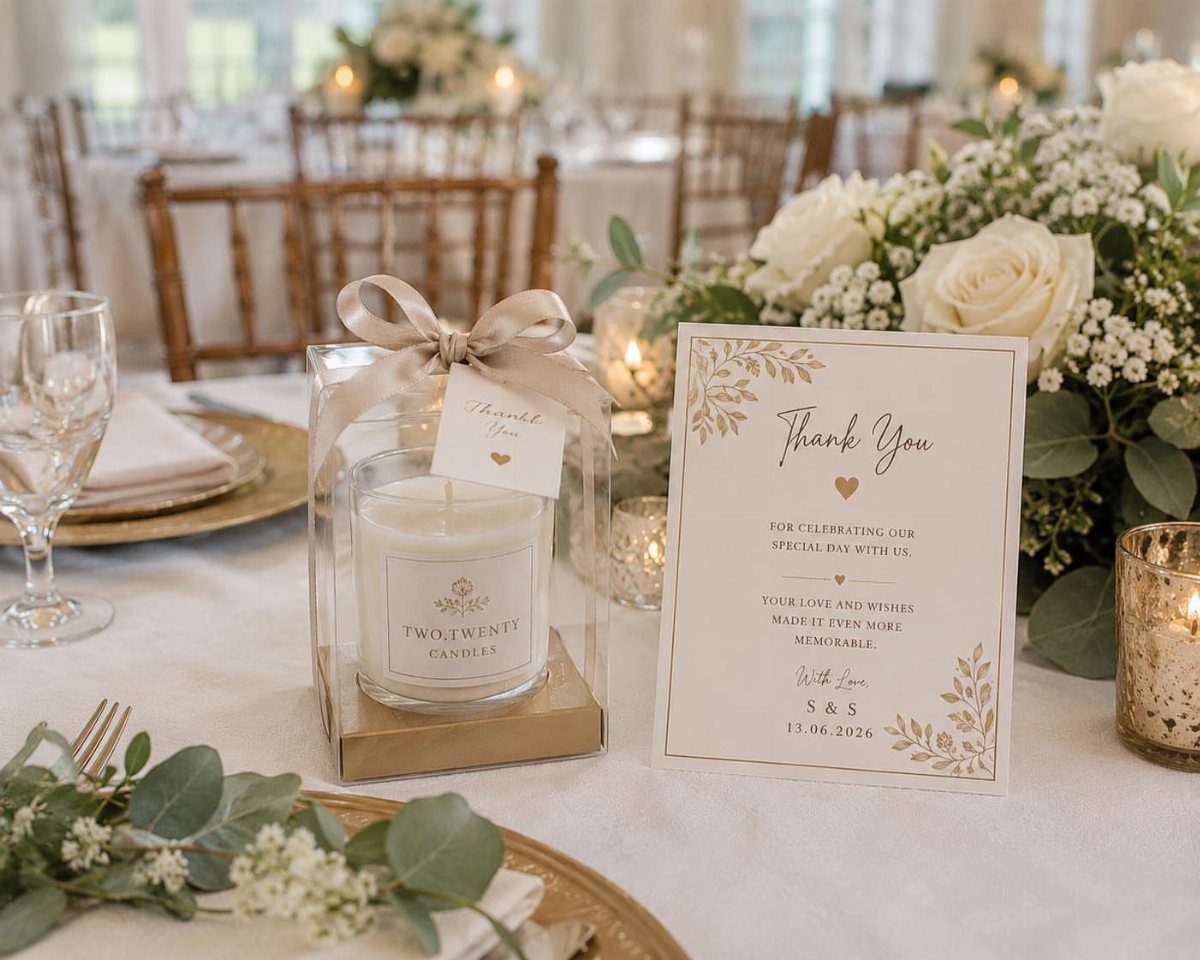
Placing a thank you card at each guest’s seat doubles as both a gesture and part of the table decor.
The gold floral border here ties into the formal place setting, and pairing it with a small favor like a candle makes the whole arrangement feel intentional.
This format fits when you’re thanking guests for being there, not necessarily for a gift.
Write a general message that applies to everyone, or leave space to add a personal line by hand before the reception. It saves postage and lets guests take the card home the same night.
6. Botanical Border Thank You Card
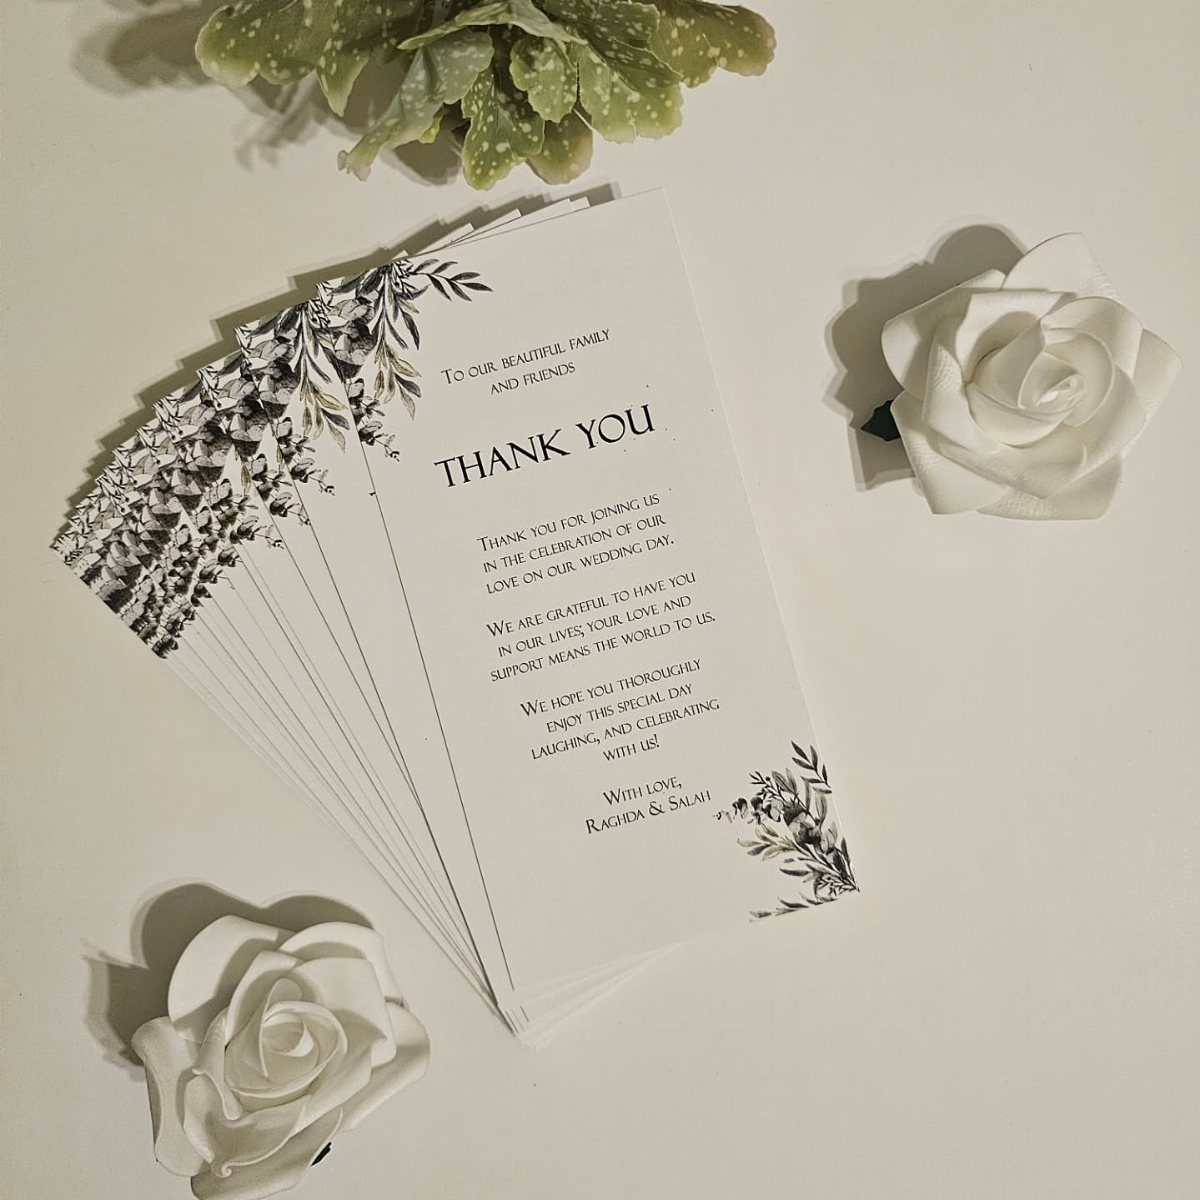
Black line art on white card stock keeps the design clean and lets the floral border do the work.
The illustration here is detailed enough to feel decorative but simple enough to print clearly at home if you’re using a template.
Botanical borders suit garden weddings or spring and summer celebrations, and they work across formal and casual settings depending on how intricate the drawing is.
If you’re ordering printed cards, ask for a sample first to confirm the line weight translates well on the paper you’ve chosen.
7. White Floral and Greenery Card
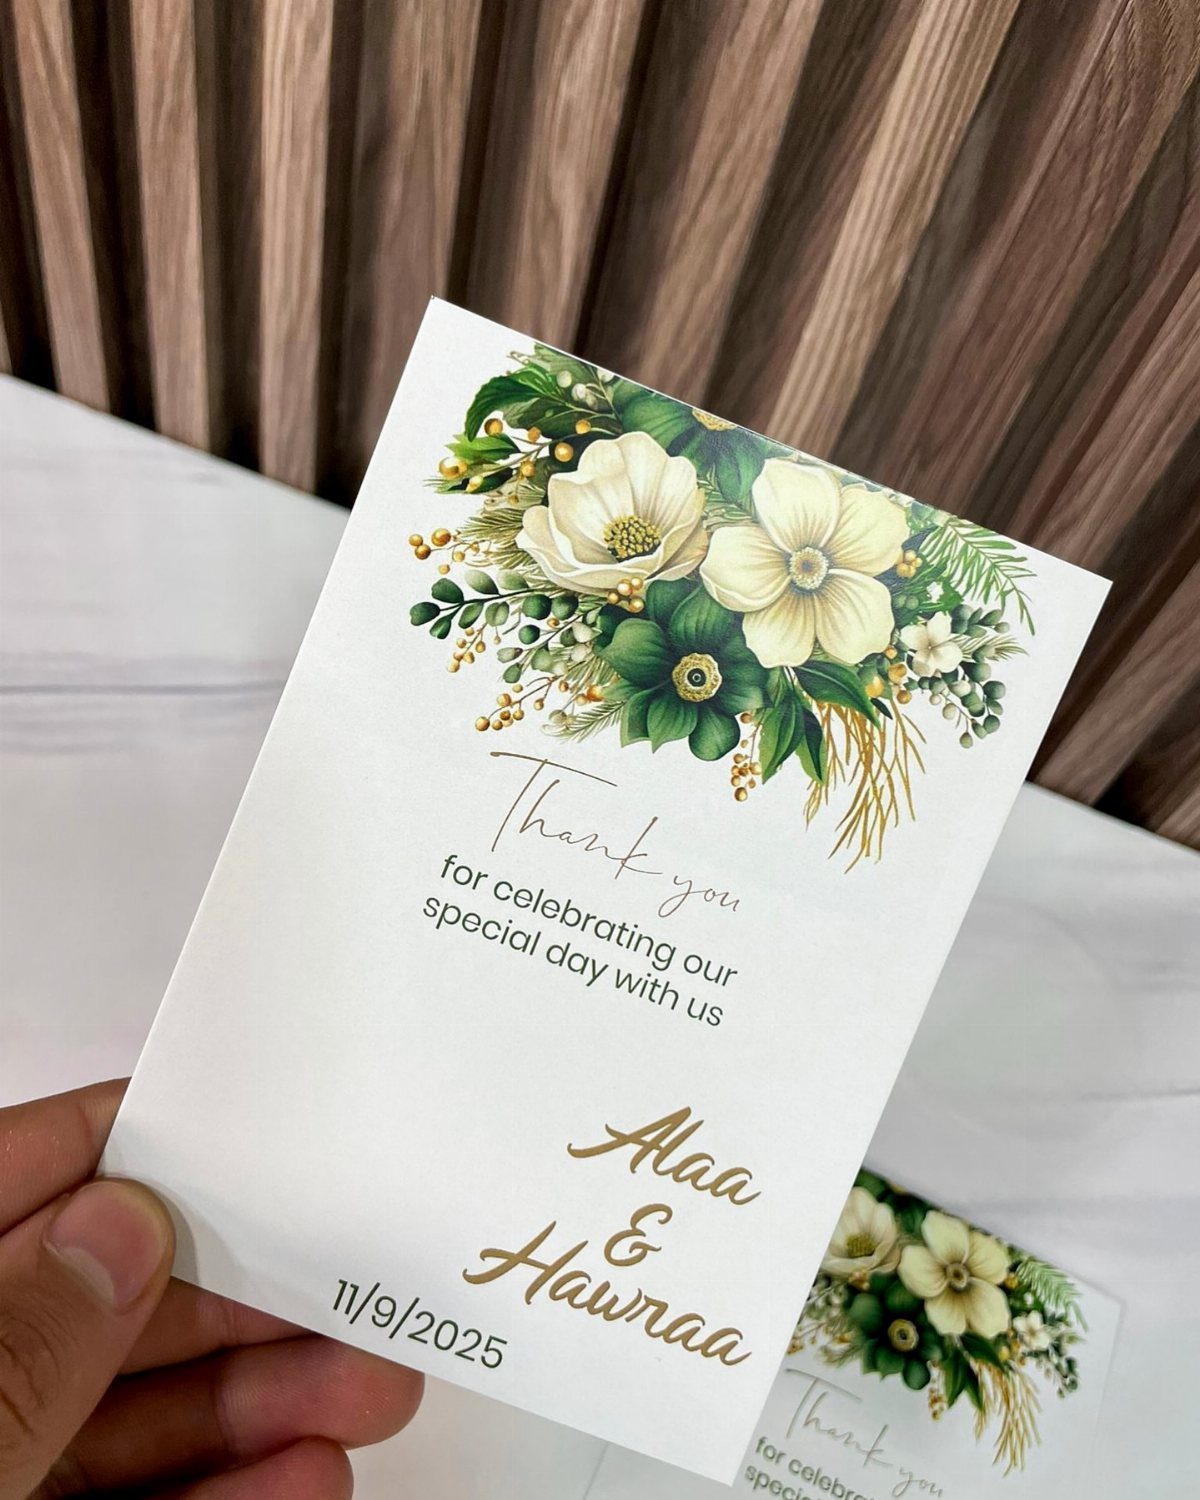
White flowers against white card stock create a soft, layered look without needing much color.
The green leaves and gold script add just enough contrast to keep the design from washing out, and the dated message works if you’re sending cards shortly after the wedding.
This format suits spring or garden weddings where white florals already appeared in the decor. The layout leaves room for a longer printed message, so you can skip handwriting the same line 80 times and just add your signatures.
8. Cards with Ribbon Bows
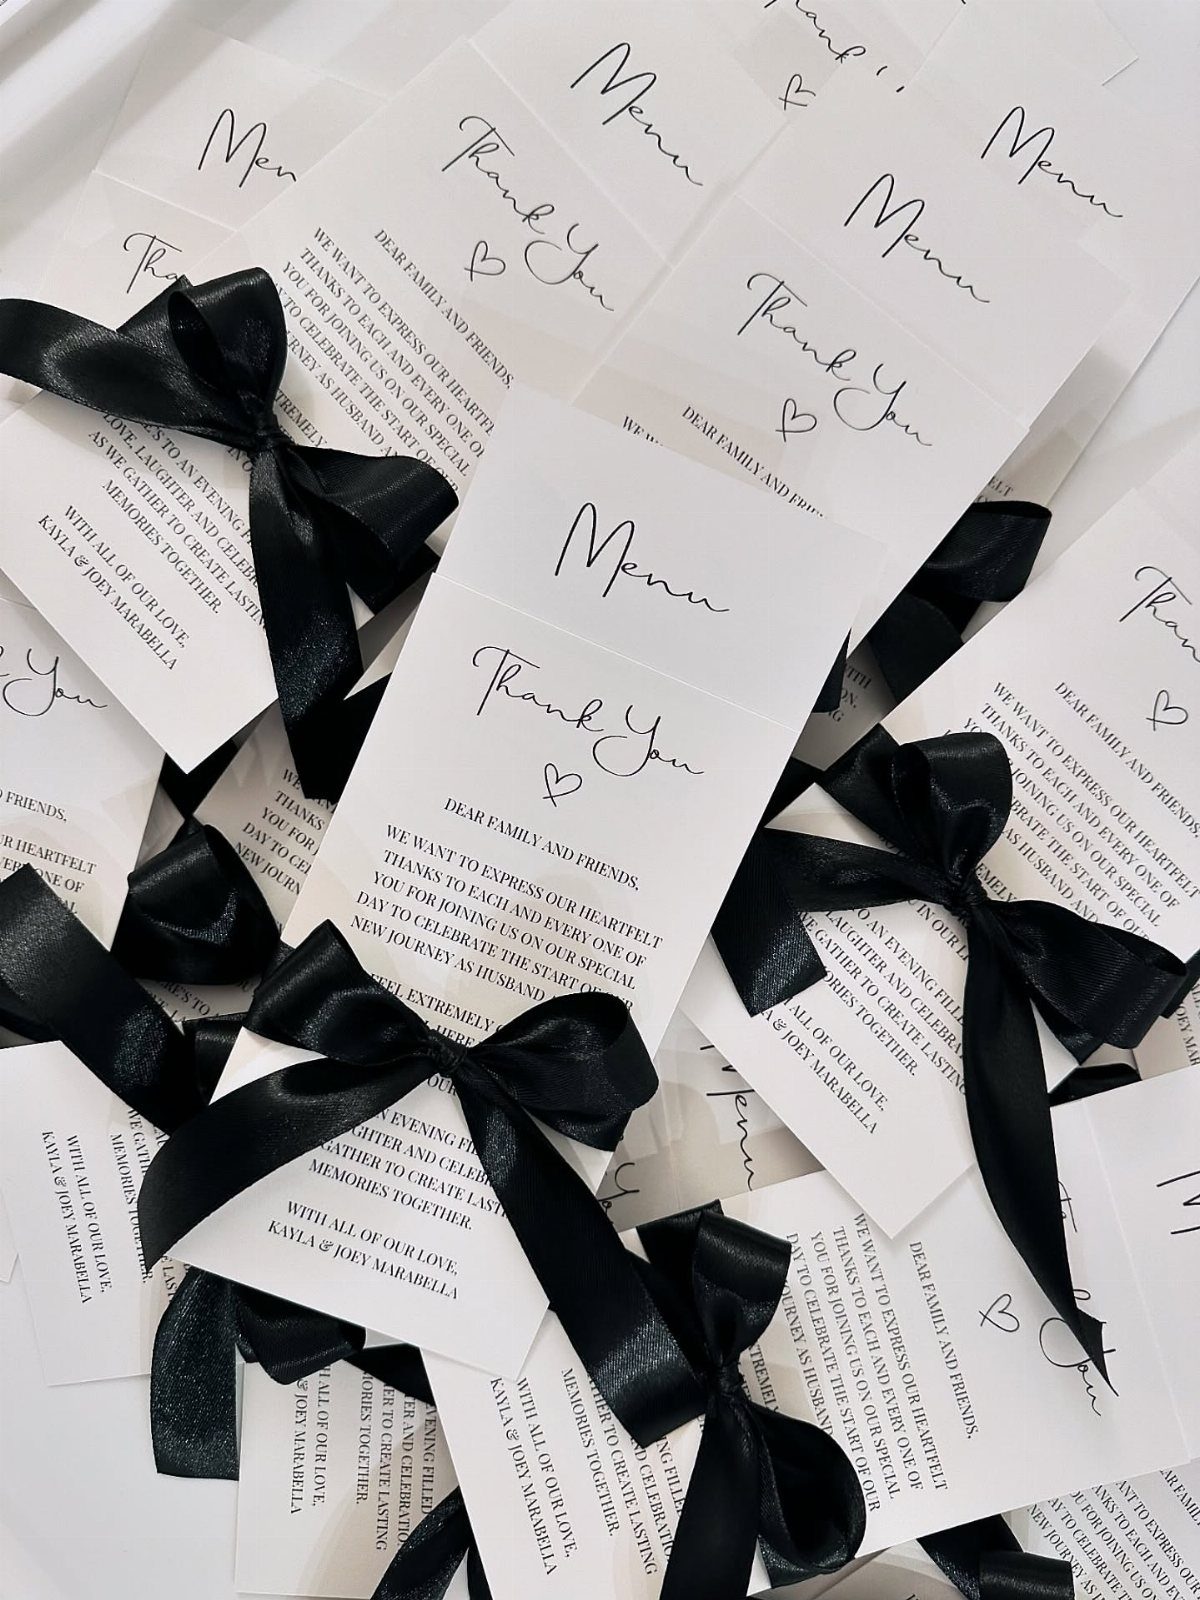
Tying a satin ribbon bow onto each card takes extra time but makes the presentation feel more finished.
The black-and-white palette here reads formal and works across nearly any wedding theme, and the texture of the ribbon adds something you can’t get from printing alone.
If you’re assembling these yourself, cut the ribbon to length first and tie the bows in one sitting. It goes faster than doing each card start to finish, and the bows will look more consistent.
9. Embossed Minimalist Thank You Card
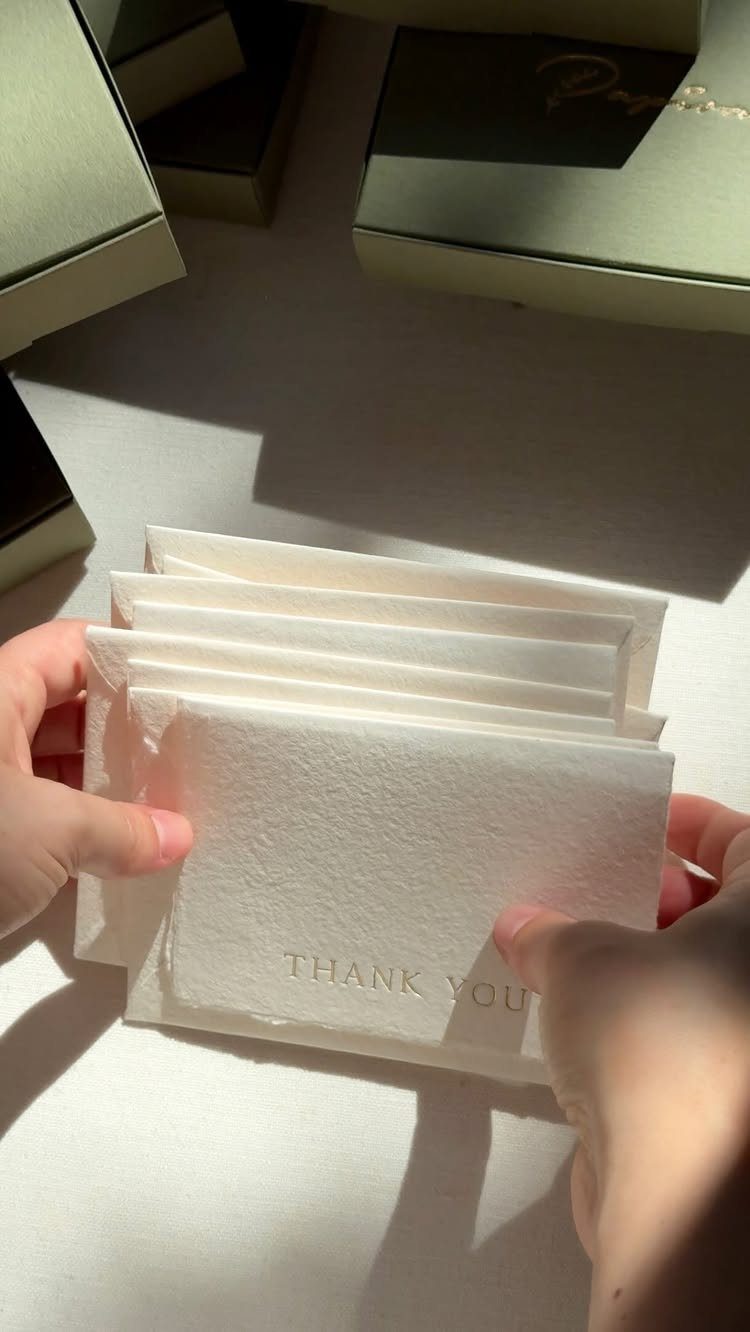
Embossing pushes the text into the card stock so it’s raised to the touch. The all-white finish here feels restrained and expensive, and the texture alone carries the design without needing any ink or foil.
This treatment costs more than flat printing because it requires a custom die, but it reads as quietly formal in a way that colored ink doesn’t. If minimalism defined your wedding aesthetic, this is the version that extends it.
10. Venue Illustration Thank You Card
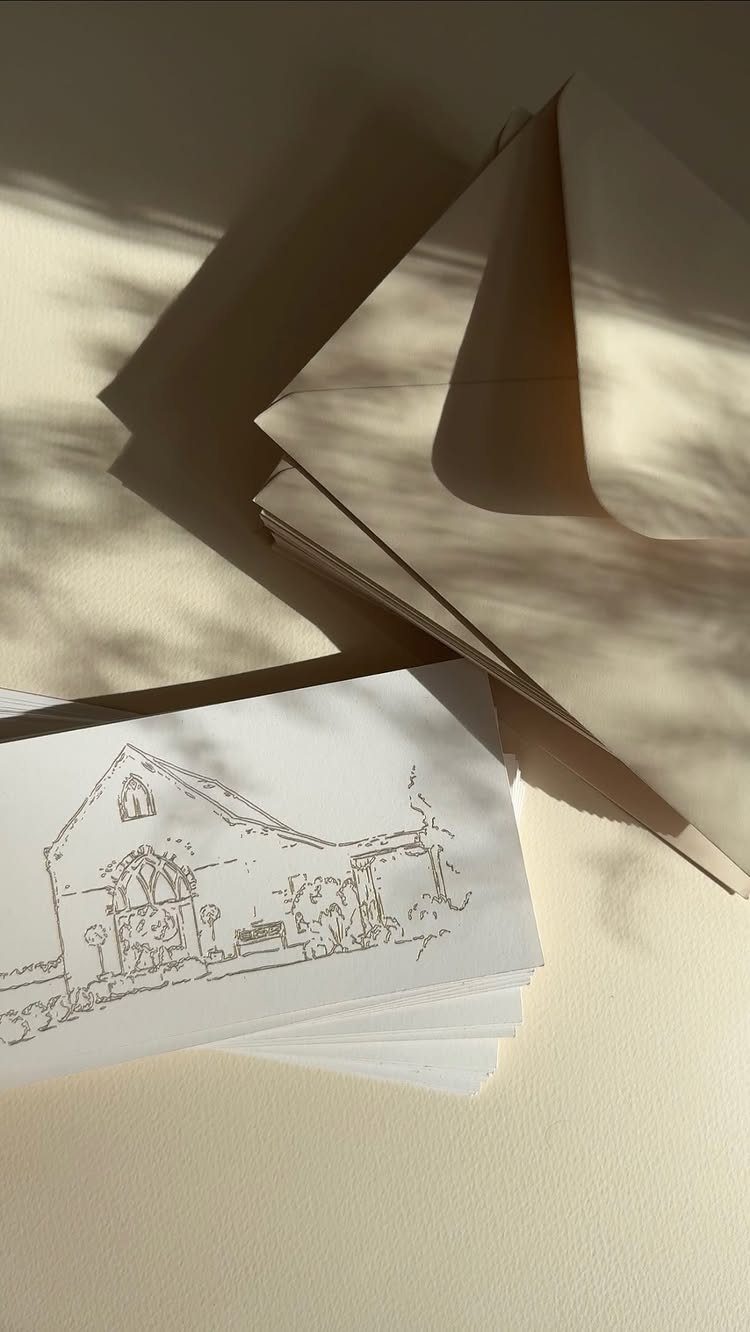
A line drawing of your venue turns the thank you card into a record of where the day happened.
The simple black-and-white illustration here pairs with kraft envelopes for a laid-back, handmade feel that suits barn weddings, garden parties, or anywhere with a building worth drawing.
Commission the illustration from an artist who works in this style, or hire a local illustrator if your venue has recognizable architecture.
Turnaround time can take a few weeks, so start this early to have the cards ready soon after the wedding.
11. Illustrated Line Art Card
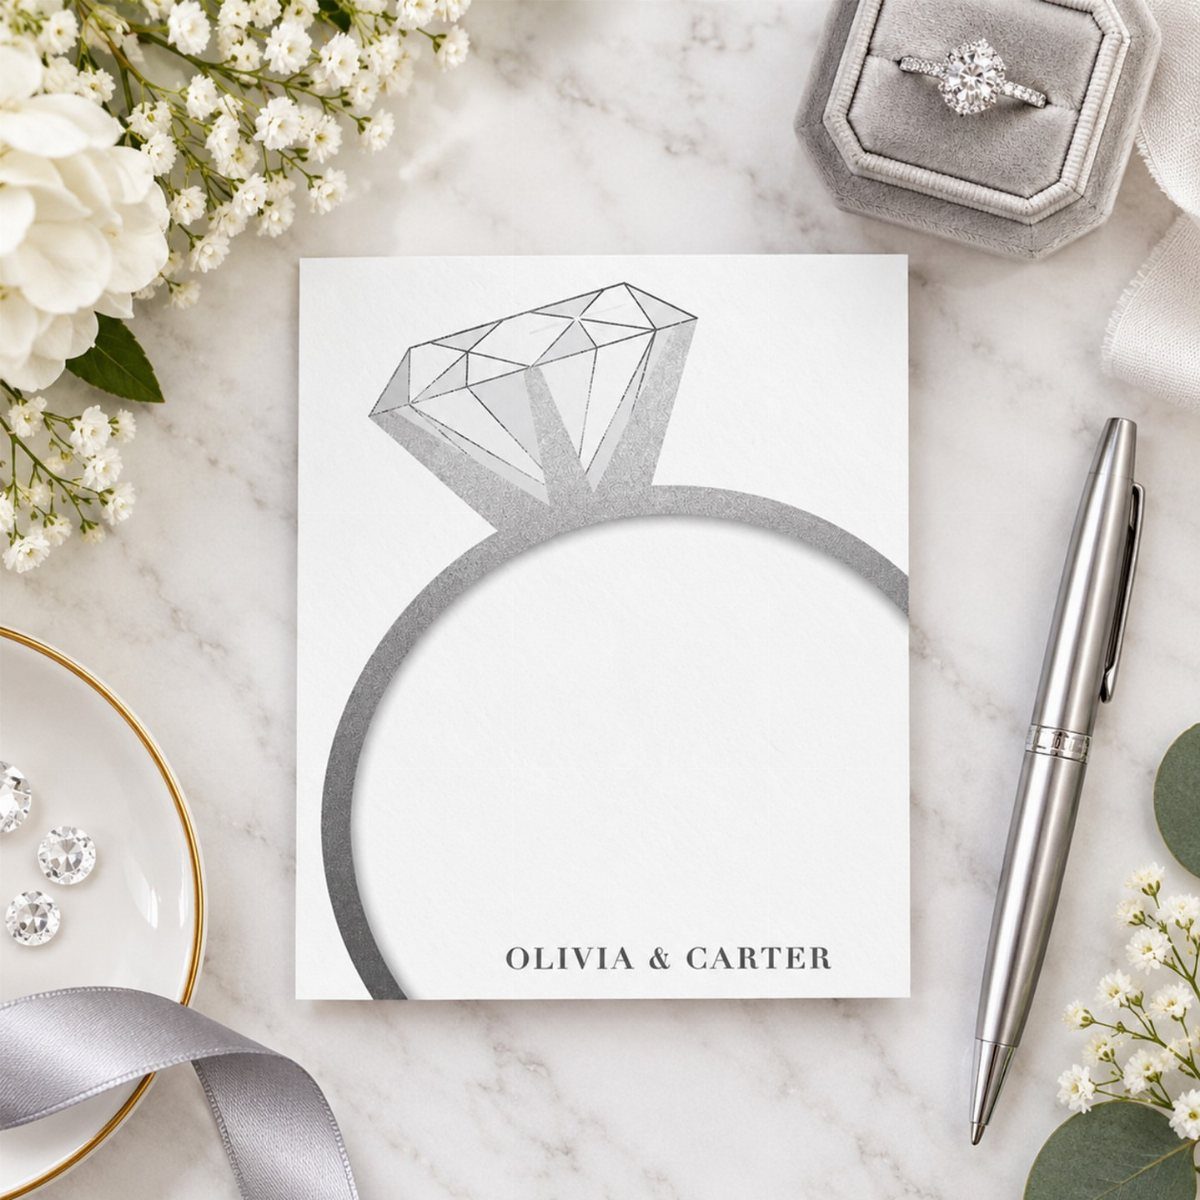
A diamond ring illustration makes the subject obvious without needing much else. The fine line work here keeps it delicate, and printing the couple’s names directly on the card saves you from handwriting them each time.
This design works if your wedding leaned romantic or classic and you want something slightly more decorative than a plain text card. The minimal layout also means it prints clearly at home if you’re working with a template.
12. Wax Sealed Illustrated Card
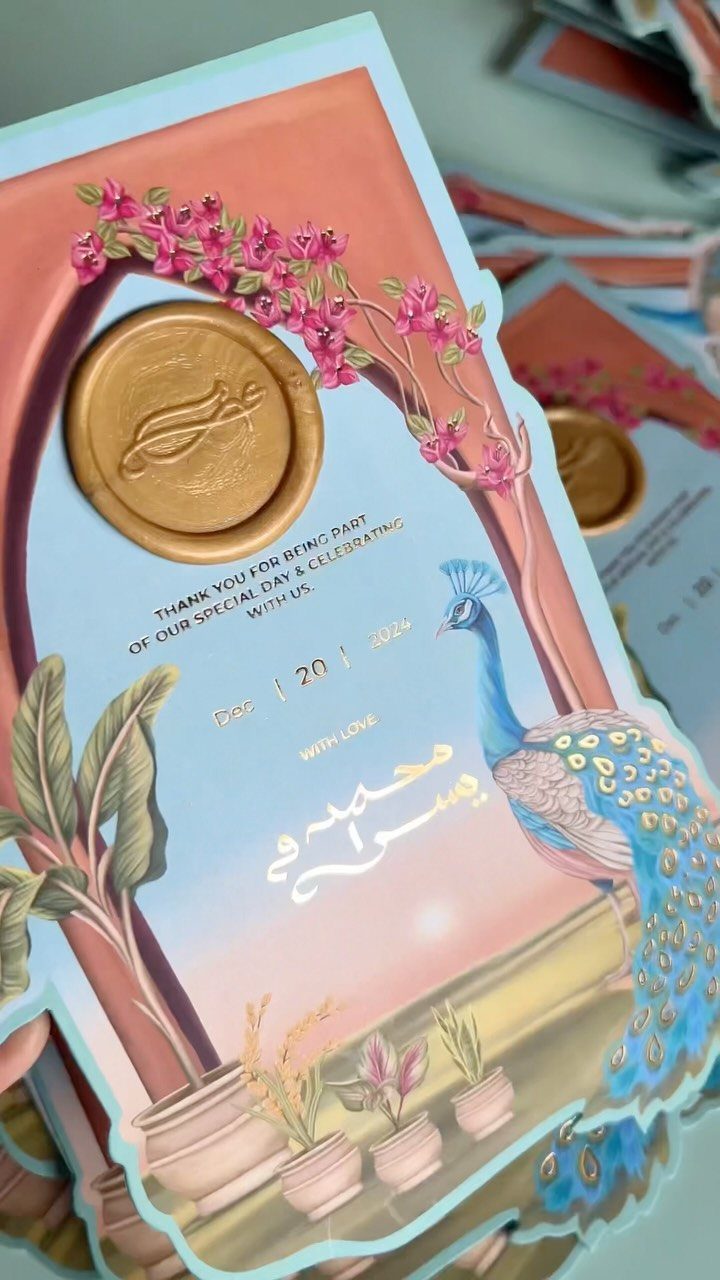
A real wax seal adds weight and formality that you can feel when you pick up the envelope. The peacock and floral illustration here is ornate, and the gold wax ties into the warm, decorative style of the card itself.
Sealing each envelope by hand takes time, so plan for that if you’re sending these to a large guest list.
If your wedding had rich colors, cultural motifs, or a maximalist aesthetic, this is the version that carries that feeling through to the thank you.
Importance of Personalization
A handwritten line or two makes the difference between a card someone glances at and one they keep.
Mention the specific gift if they gave one, or call out a moment from the day if you remember it: the toast they gave, the drive they made to be there, the fact that they stayed until the last song.
That detail proves you wrote the card for them, not just to cross a name off the list. It takes an extra 30 seconds per card, but guests notice when you skip it.
If you’re sending 100 cards and can’t write something unique for every single person, at least vary the opening or closing so it doesn’t read like you printed the same paragraph on every one.
Taking the time to add a personalized note makes your thank you card that much more special. Adding a specific anecdote or memorable moment from your wedding will show your gratitude and truly showcase the importance of the individual’s attendance.
— Minted
How to Start a Thank You Note
Start with their name and a direct thank you. "Dear Sarah, thank you for the beautiful cutting board" or "Dear Uncle Jim, thank you for celebrating with us" gets to the point without buildup.
Follow that with a sentence about the gift itself: how you’ll use it, where it’s going in the house, or why it was exactly what you needed.
If they came without a gift, thank them for traveling or for celebrating with you.
End the wedding thank you note by signing both of your names.
Organizational Tips
Keep a running list of who gave what, ideally in a spreadsheet or notebook you update the day gifts arrive.
Include the guest’s name, the gift, and the date you received it so you’re not guessing later when you sit down to write.
If gifts came with cards, save those cards in a folder or envelope so you can match the handwriting to the name if the signature isn’t clear.
That saves you from having to text someone’s cousin to ask who brought the stand mixer.
Set aside time to write a few cards at once rather than trying to finish them all in one sitting.
A few cards each night beats forcing yourself through the whole stack in one sitting, and the writing stays warmer when you’re not exhausted halfway in.