
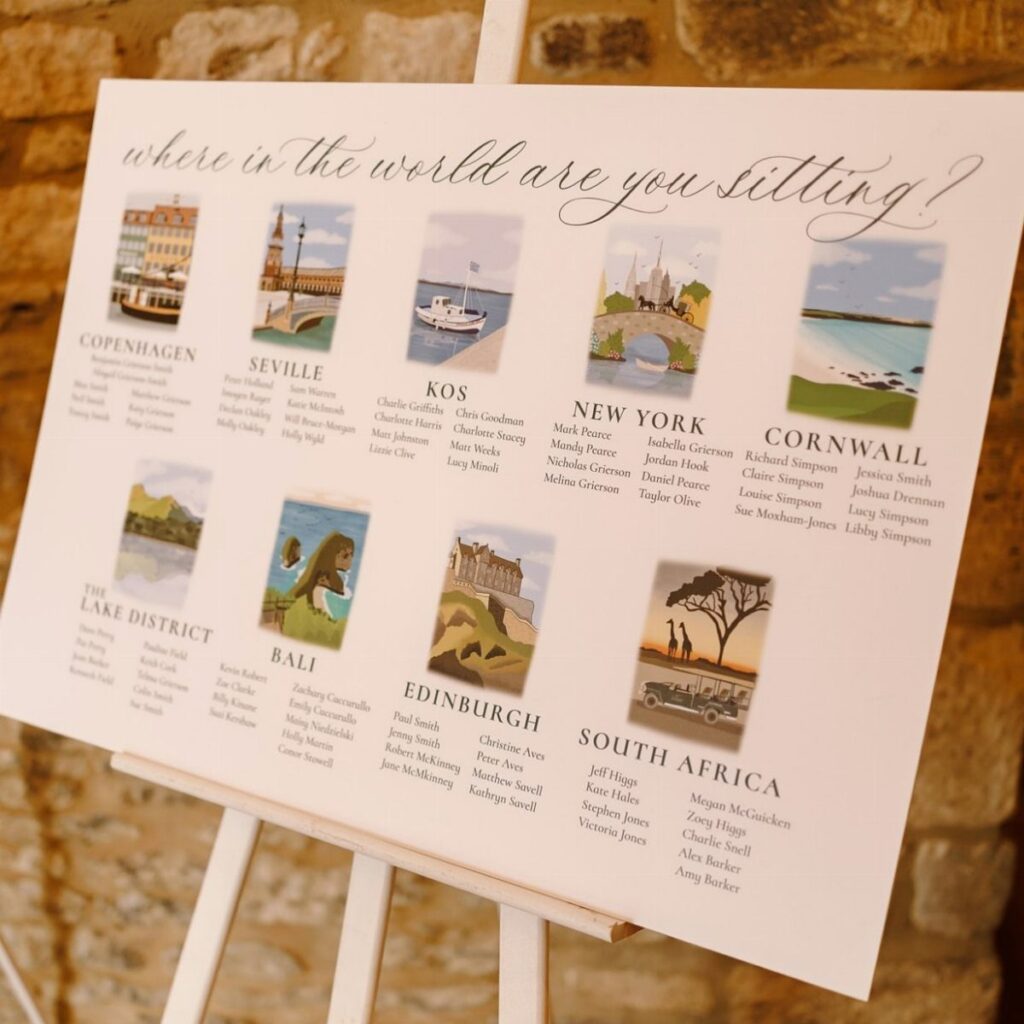
Start your seating chart 3 to 4 weeks before the wedding, once RSVPs are in and you know your final guest count. Building it earlier means reworking assignments every time a response changes the plan.
The rule that picks your approach is whether you want a formal, structured layout or a more relaxed room: how you arrange tables changes the flow and the formality of the space.
1. Layout of the Reception Area
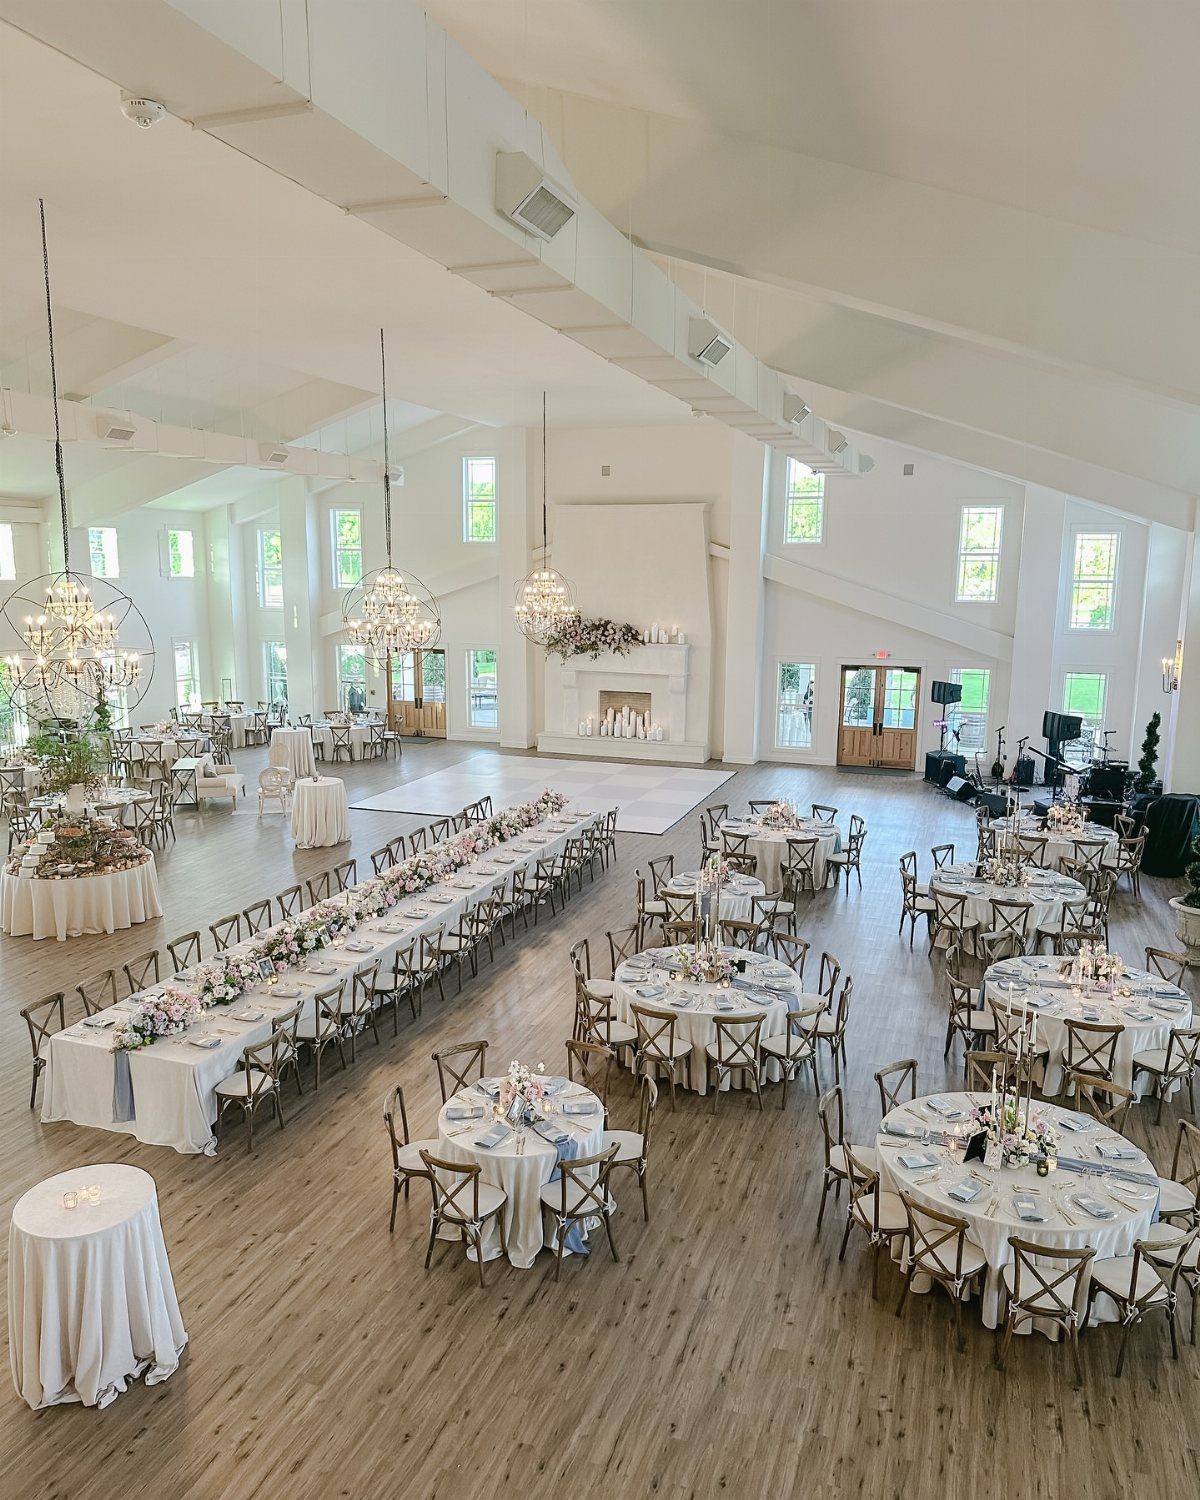
Mix long banquet tables with rounds to fit more guests without crowding the room. Long tables work well for families or large friend groups you want to keep together, while rounds make conversation easier across the table.
Most venues will let you choose your table layout, and some will even sketch a floor plan with you during the walkthrough.
If you’re doing the seating chart yourself, measure the room or ask for dimensions so you can map out pathways between tables. Guests need room to walk comfortably behind seated people.
I like pairing the 2 shapes because it gives the room a less formal, more lived-in look than all rounds.
2. Sweetheart Table
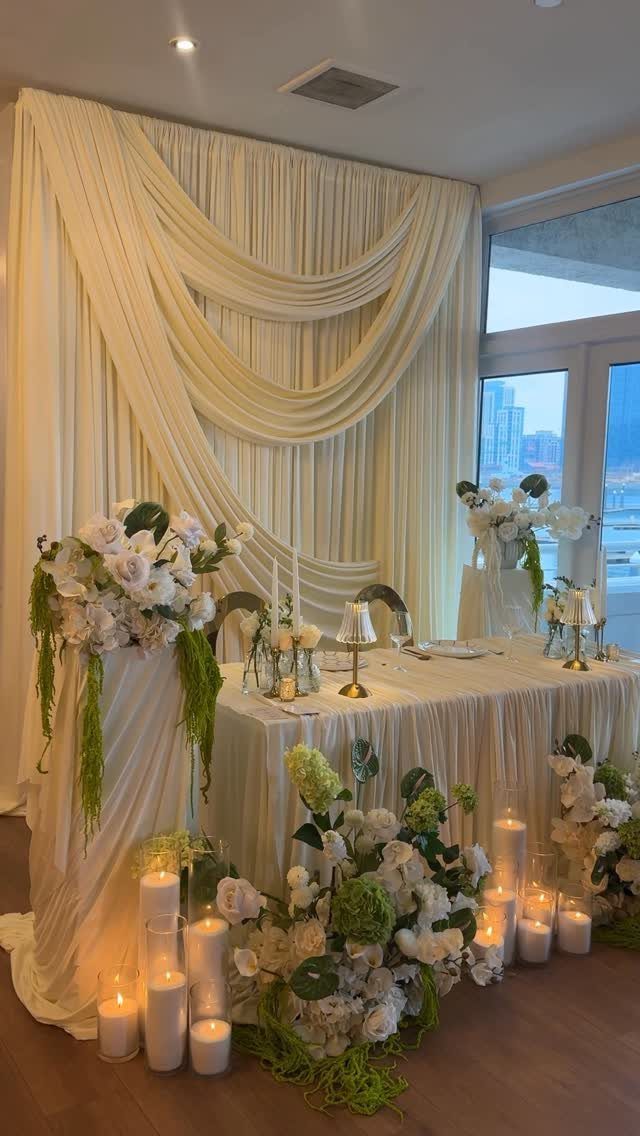
A sweetheart table seats just the two of you, which gives you a quiet spot to eat together without managing conversation at a head table.
You can dress it with florals, candles, and a backdrop or simply use the venue’s linens and let it sit in front of the dance floor.
This setup works well if your wedding party is uneven or if you’d rather let your attendants sit with their partners.
Some couples use it for part of the reception and then move to a larger table for toasts or dessert.
You’re on display the whole meal, so if you’d rather have company or blend in a bit, seat yourselves with your wedding party or family instead.
3. Printable Seating Charts and Escort Boards
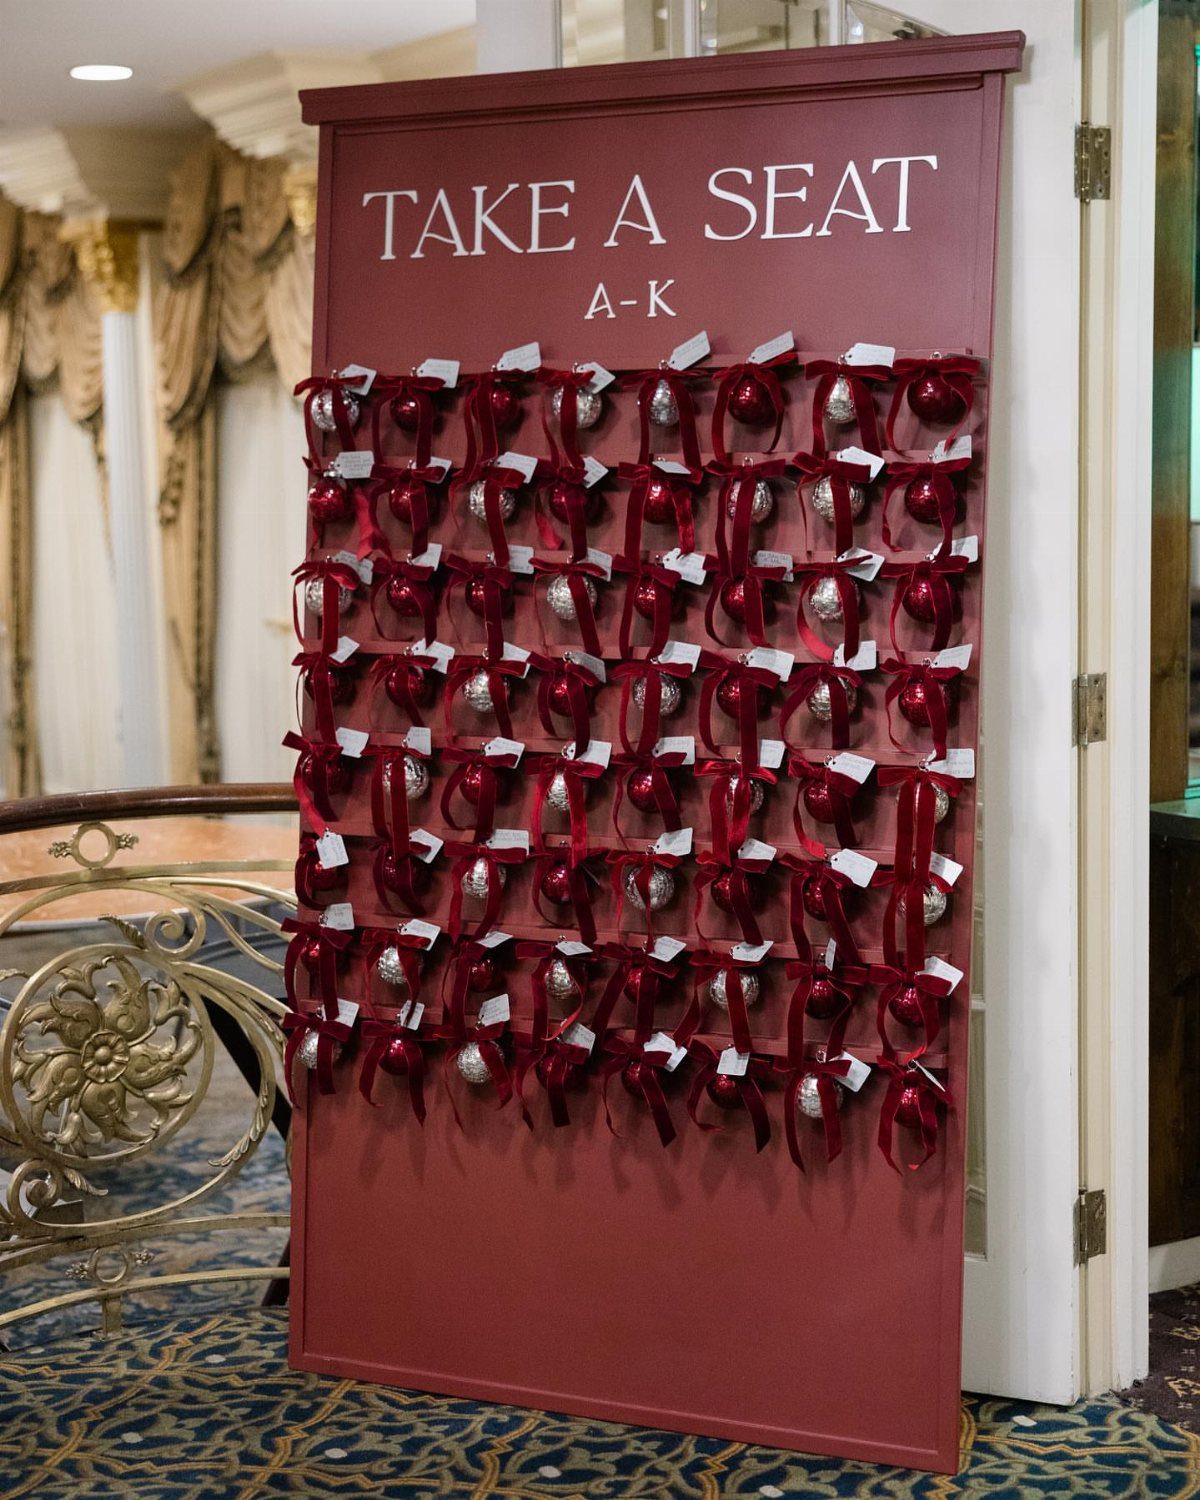
Canva has free templates for seating charts and escort boards that you can customize with your colors, fonts, and guest names, then download as a PDF and print at a local print shop or online.
The design process takes an hour or two once you have your final guest list and table assignments.
Most couples mount the printed chart on foam board or frame it, then set it on an easel near the entrance to the reception.
The visible board pairs small ornaments with name tags, which adds a decorative element and doubles as a favor guests can take home.
4. Kids’ Table
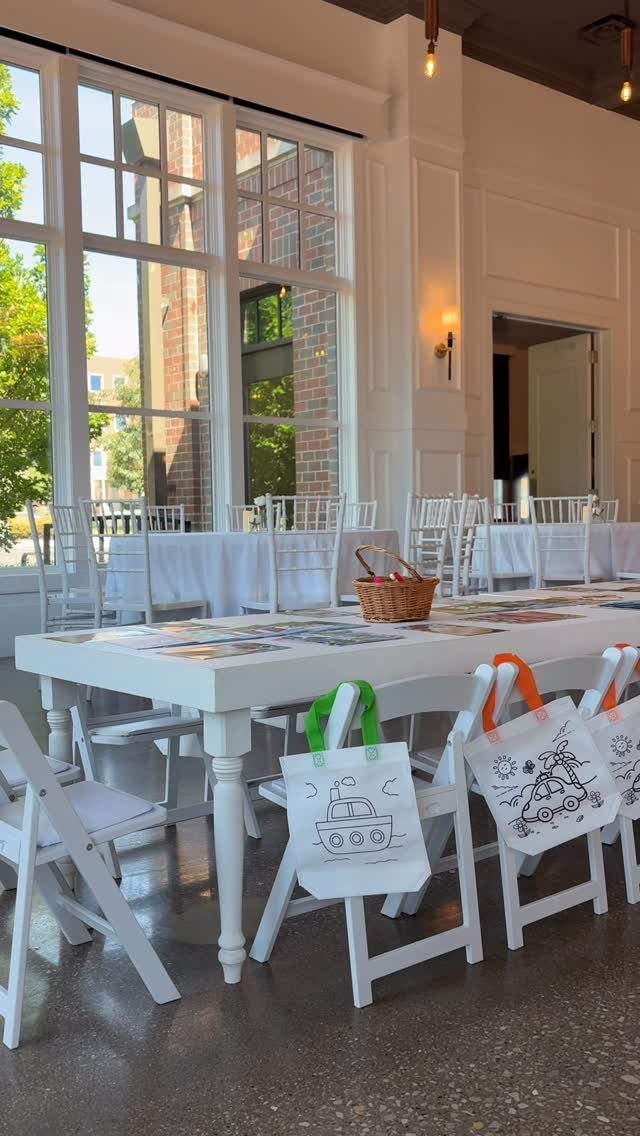
Seat children together at their own table so parents can relax and kids can move around without disturbing other guests. Stock the table with coloring sheets, crayons, small toys, or activity books to keep them busy between courses.
You could also lay out a roll of butcher paper as a tablecloth and let them draw directly on the table.
Place the kids’ table near their parents but not in the middle of the room, so adults can check in easily and kids can get up without blocking service or the dance floor.
Timing for Seating Chart Creation
Start working on your seating chart 3 to 4 weeks before the wedding, once you have a solid guest count. I set my RSVP deadline 3 to 4 weeks before the wedding so I have breathing room to assign seats without rushing.
Last-minute changes happen often and can shift the entire plan, so building the chart too early means reworking it multiple times. Waiting until responses are in keeps the process efficient.
Before RSVPs close, you can still look at seating chart designs and floor plan layouts that match your venue and theme.
Many digital tools let you design your layout to scale, which makes it easier to picture where guests will sit and adjust quickly as responses come in.
Guest Dynamics Consideration
Group guests by shared interests or background so they have something to talk about once they sit down.
Put your aunt who loves hiking next to a cousin who just got back from Patagonia, or seat college roommates together if they haven’t caught up in years.
Matching people based on personality or hobbies creates a friendly atmosphere and gets conversations going without you having to play host at every table.
Once the toasts are done and people settle in, they’re stuck with whoever’s nearby, so think about who will hold a conversation without you running interference.
You want a room where people relax and talk, not a seating plan where every table already has its own group chat.
Vendor Coordination
Share your seating chart with your caterer, venue coordinator, DJ, and photographer once assignments are final.
These vendors need to know where guests are sitting so they can set up tables correctly, plan service flow, and capture the right moments during the reception.
If you’ve drawn the layout by hand, scan or photograph it. If you’re using an app or digital floor plan, send a link or invite vendors to view it directly.
Your venue coordinator has seen dozens of receptions in that room, so ask them which layouts flow and which ones create bottlenecks before you lock anything in.